Creating a portfolio on Behance!

Note: There have since been updates to Behance, thus the uploading process and project creation has changed. Therefore some portions of this article may no longer be valid. Please visit Behance for additional information.
What is Behance?
Behance is a platform where you can showcase your work and build an online portfolio simply and easily. In the future, we will cover other portfolio platforms.
Today we will cover the basics of how you create portfolio that showcases the designs that you created using Vectornator with Kenn’s illustration!
Step One: Create A Project
Once you click Create A Project you be enter Behance’s Project Editor. This is where you will be begin creating a project.
You can then change your background color for example and much much more!

Step Two: Define Your Project
The first thing you should do is give your project a title and a brief description.
Those viewing your project could be fans, other artists or potential employers. Thus, it is important to tell the viewer more about your project, possibly describe the process or share where your inspiration came from.

Step Three: Upload Your First Image
Your first image should be the main graphic that you created. You can then add a caption under the image if you like.

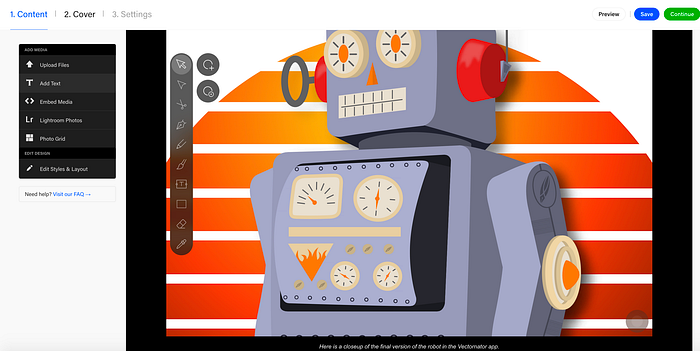
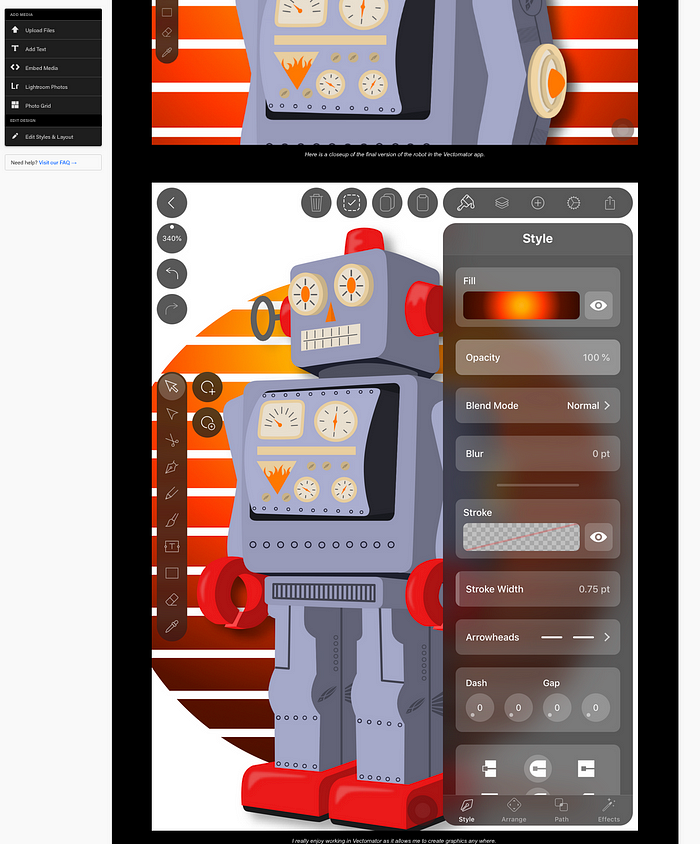
Step Four: Share Your Process
It can be interesting for those viewing your portfolio to see your process. This can be done in several ways:
- Screen captures
- Close-ups
- Showing your Vectornator design in outline mode
- Sharing a time lapse video
- etc.
Below you will see some examples.
Step Five: Share Your Contact Information
For potential employers or clients, it is very important for them to find your contact information quickly. At the bottom of each project, Kenn likes to share his email for example.

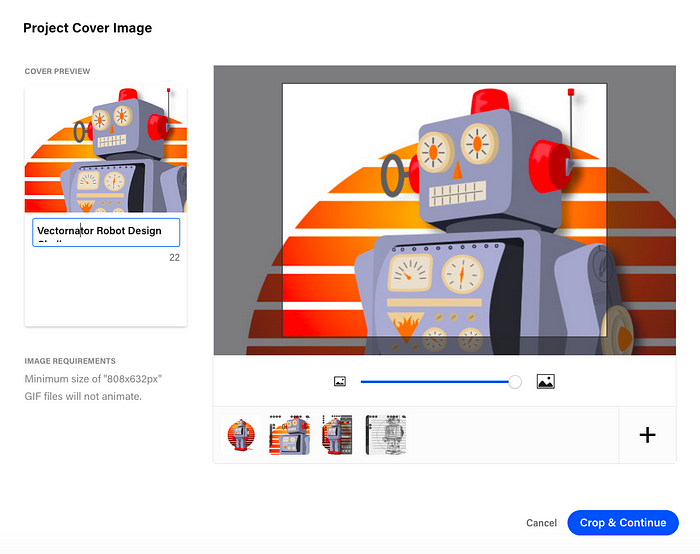
Step Six: Cover Image
When people view your portfolio, the cover image is the first thing people see. It should be visually appealing and interesting for the viewer. You want to grab their attention as soon as they view your portfolio.
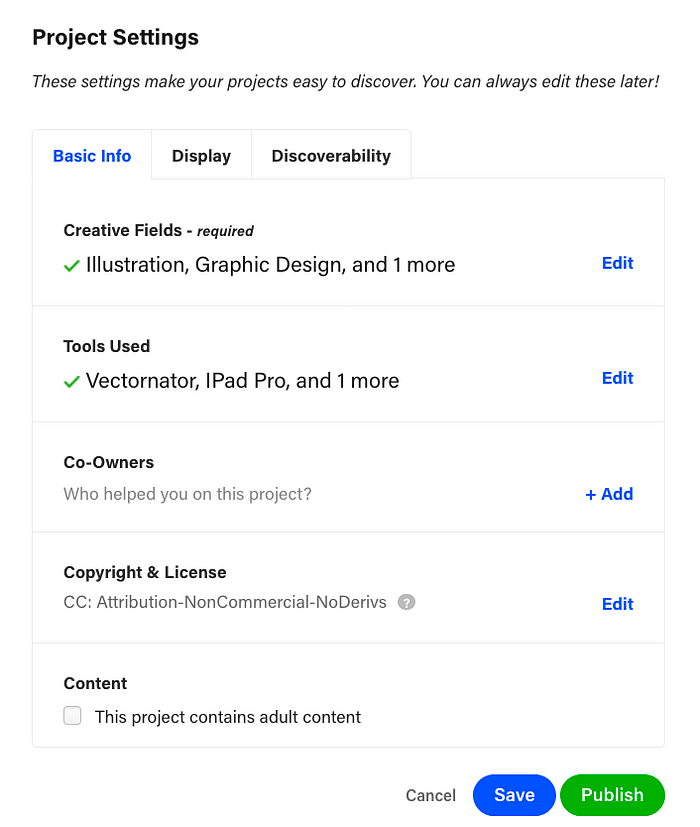
Step Seven: Project Settings - Basic Info
Creative Fields…
You will choose three items that best describe your project. In this case, Kenn chose Illustration, Graphic Design and Digital Art. However, there are many to choose from.
Tools Used…
It is important to let people know the tools that you used to create your project. Kenn listed Vectornator, iPad Pro and Apple iPad.
You can also list other artists that you might have collaborated with who are also on Behance.
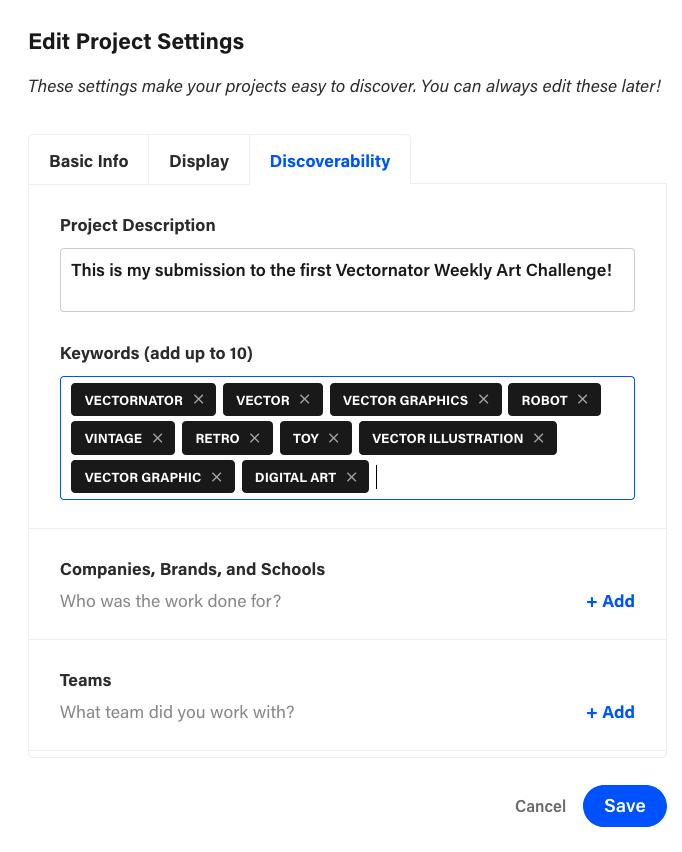
Step Eight: Project Settings - Discoverability
Kenn is skipping the Display tab for this article and moving on to Discoverability.
Here you will write a very short description regarding your project. This is what appears in search engines or when you share your project link on a social media platform such as Facebook or LinkedIn. Many people don’t know this, which is why earlier I said to write the main description directly on the page.
You will also choose keywords relating to your design. This will also make your project more searchable online and even on Behance!
If you created your vector design for a client or an agency then you can also list it here. So, if Kenn had created this design for let’s say a clothing line such as Tommy Hilfiger or for an advertising agency such as DDB, then he would input their information here.
Step Nine: Click Publish!
Once you click Publish your project will appear on your portfolio! It is just that simple.
The great thing with Behance is that you can integrate your projects into Adobe Portfolio. We will cover Adobe Portfolio in a later article. However, this is one benefit to publishing your portfolio on Behance.
Another great thing about Behance, is that there are curated galleries! Thus, if a curator decides to showcase your work, then it will get you more exposure. An example of this is the Wacom Gallery!
Step Ten: Promote Your Work!
Remember you are your own Marketing / Public Relations Manager! Once you publish a project, make sure you share the link via social media. This will help your project to be seen and it could help you land your dream job!
WRAP…
If you create a Portfolio on Behance showcasing your Vectornator designs, then make sure to let us know. We enjoy discovering new artists and promoting their artwork!
— Team Vectornator